
Queen's Domain Build Guide: Three Loadouts That Work
Three practical Queen's Domain builds: a balanced prince, an impact bruiser and a thrower, with weapon priorities, armour, food and level-up advice.
A heavier weapon with a clean stamina bar beats a high-damage weapon you cannot swing twice. Test every new weapon on the beach before you commit.
Queen's Domain does not have classes. It has XP levels, food that raises stats, 50+ melee weapons, 20+ throwing weapons and a handful of armour choices. A "build" is therefore a loadout plus a spending plan, not a character sheet you lock in at the start.
That is good news: you can change weapons when a region demands it. It is bad news for anyone who wants a single optimal answer. This guide gives three loadouts that cover the game's three real problems — balanced exploration, armoured enemies and ranged pressure — and explains what to level and eat for each.
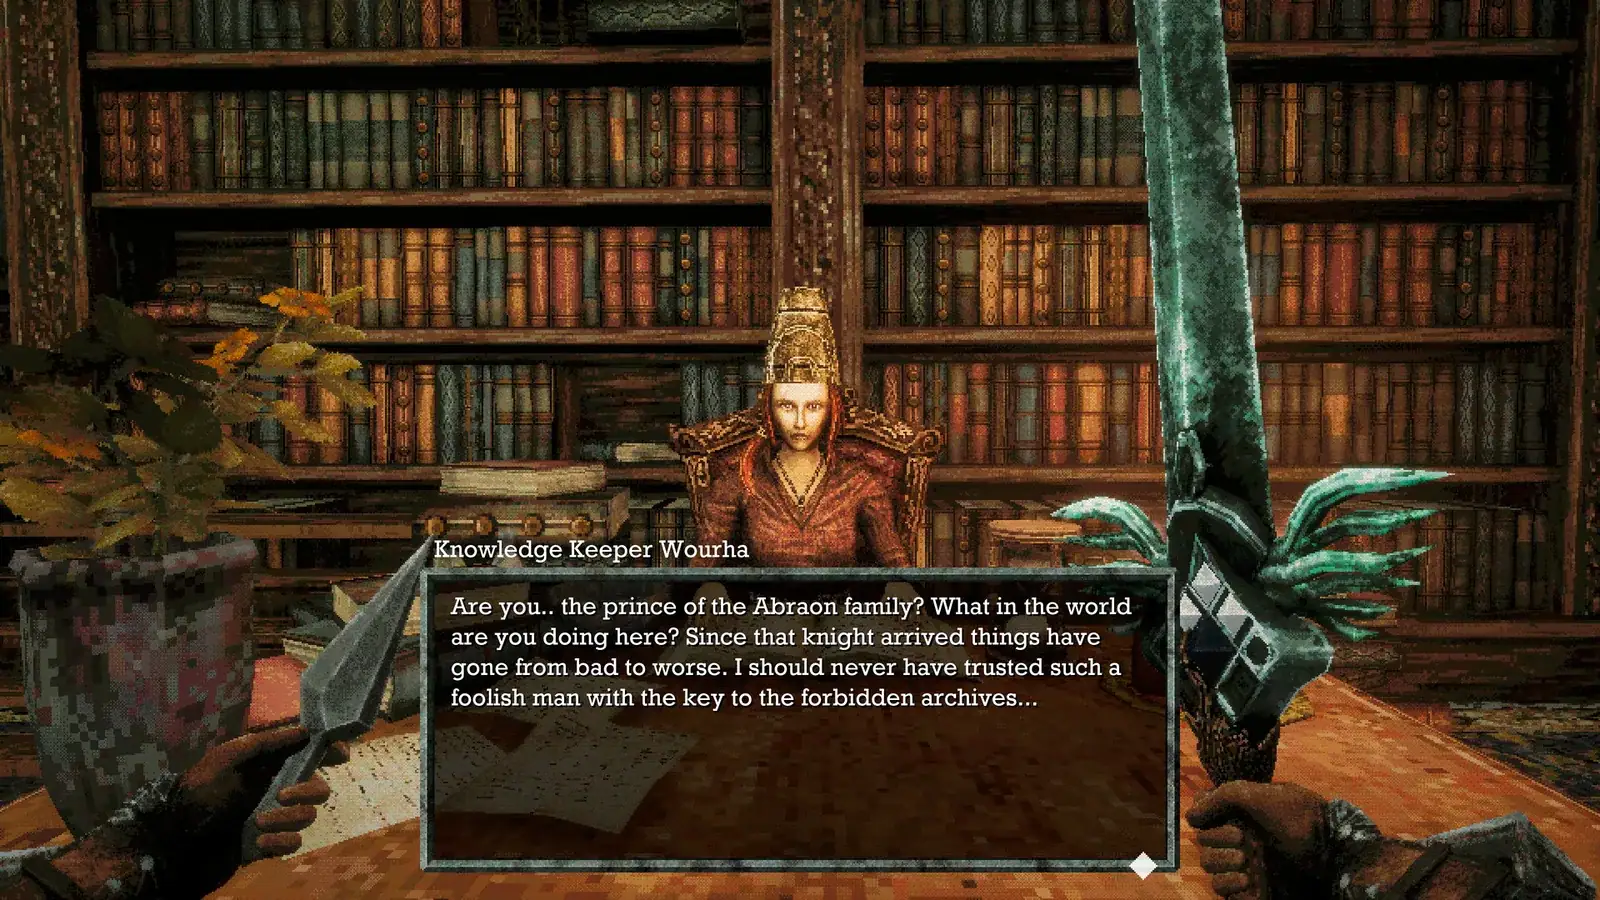
The principles behind every build
- Coverage beats power. One weapon of each damage type is worth more than a high-damage weapon that bounces off half the island.
- Stamina is the DPS stat. A weapon you can swing three times and still walk away beats a heavier weapon you can swing once.
- The second slot is mandatory. Throwing weapons are free pressure and puzzle keys. No build skips them.
- Food is part of the build. A stat meal is a temporary level, and it is cheaper than an upgrade.
- Do not plan a respec. None has been confirmed. Build around weapons you can actually use.
Build 1: The Balanced Prince
For: first playthrough, exploration, not knowing what the next region resists.
Melee: a straight sword with a fast charged attack and a short recovery. The starting rusty sword is the template; replace it with a weapon that has the same rhythm and a real special.
Throwing: a light dagger. Flat arc, short cooldown, works in slots.
Armour: medium. Enough defence to survive one mistake, enough mobility to keep the backpedal short.
Food: a general stat meal before bosses; elixirs for healing.
Level priorities: stamina first, then the stat your weapon's special scales with. Do not chase a second damage type through levels; carry it through gear instead.
Why it works: it is the loadout the game's opening teaches. It has no glaring weakness and no single fight where it shines. That is the point.
Build 2: The Impact Bruiser
For: bone enemies, shields, the Noble Sentinel, players who like one big commitment.
Melee: a club, hammer or greatsword with impact damage and a stagger special. The wind-up is long; the payoff is a guard break.
Throwing: a heavy javelin or axe for the opening stagger, swapped to a dagger for slots.
Armour: heavy. If you are going to commit to a slow swing, you need to survive the trade.
Food: defence and stamina food before a boss; impact damage is expensive, so make the bar last.
Level priorities: stamina and the heavy weapon's scaling stat. Do not split into a fast blade "for emergencies"; the emergency is what the throw is for.
Why it works: the game's shield and bone enemies are built to punish slash. The bruiser turns those fights from a bounce into a stagger. It struggles against fast, mobile enemies, so keep the dagger for pull-and-reset.
Build 3: The Thrower
For: players who want to control the pace, and anyone stuck on a boss with a long approach.
Melee: a fast blade with low stamina cost. It is a finisher, not the main damage.
Throwing: a light dagger for rhythm plus a status vial for boss pressure. Swap the vial for a heavy stagger throw against shields.
Armour: light. You are trying not to be hit, not to trade.
Food: stamina and status-resistance food; the build spends a lot of time at range, so defence matters less than not getting cornered.
Level priorities: stamina, then whatever improves throw damage or cooldown if the game exposes it. If it does not, put everything into survivability.
Why it works: throws do not stop your feet. The build turns every boss approach into free damage and every group into a series of one-on-ones. It is the slowest-killing build on paper and often the safest in practice.
What to level, in plain terms
The game confirms XP levels and food-raised stats, but it does not publish a stat screen we can quote. The safe priority order for every build:
- Stamina. More swings and more retreats; it is never wasted.
- Your main weapon's damage stat. One weapon, not three.
- Survivability. If a region's regular enemies two-shot you, defence is the damage stat.
- Utility. Only after the first three. A utility stat that does not help you kill or survive is a luxury.
Do not spread points to "keep options open." The weapon swap already keeps options open; the levels should deepen the build you are actually playing.
Armour and charms
Armour is not fashion in this game. It decides whether a committed swing is a trade you can afford. The armour page covers shields, charms and the defence-versus-mobility question. The short version:
- Light: for throwers and dodge-by-position players.
- Medium: for the balanced prince.
- Heavy: for the bruiser and anyone learning a boss.
Charms are the flex slot. A life charm is the safest default; a resistance charm is better once you know the region's status. Do not stack two charms that solve the same problem.
Food and consumables
Food is a temporary build. The food guide has the full list of confirmed items, but the build rule is simple:
- Before a boss: stat food plus a full heal stock.
- During exploration: heals only; do not burn stat food on regular enemies.
- Before a one-way drop: eat, then drop. The meal does not carry into the next attempt if you die.
Three mistakes that ruin a build
- Upgrading a coverage weapon. You need it for one family, not the whole game.
- Ignoring the second slot. A build without a throwable has no answer to an empty stamina bar.
- Chasing a respec. None is confirmed; if you want to change, change the weapon, not the character.
Sources
Official source: Queen's Domain on Steam — official store page with the feature list, PC requirements and launch details.
- Queen's Domain preview — Rock Paper Shotgun — preview of the first-person combat, throwing daggers and dual-wield loop.
- Queen's Domain review — The Wand Report — 9/10 launch review of the combat, exploration and King's Field lineage.
FAQ
What is the best build for a first playthrough? The Balanced Prince. It has no bad matchup and it teaches the game's rhythm.
Can I respec my stats? Not confirmed. Plan around weapons rather than a stat lock.
Is a throwing-only build viable? No. The cooldown is too long for full damage; the thrower build uses melee to finish.
Do builds need to match armour sets? No set bonuses have been confirmed. Match armour weight to your commitment level, not to a set.
More Queen's Domain Guides
How the Queen's Domain bestiary works, the enemy families confirmed at launch, damage-type weaknesses and a practical method for recording new entries.
Every confirmed Queen's Domain boss: Black Skeletal Butcher, Noble Sentinel and The Necronomicon, with arena notes, punish windows and setup advice.
Every verified Queen's Domain demo secret: the dagger-slot tombstone, the hidden meal, the secret shop, Wourha's archive key and five achievements.
A complete Queen's Domain demo walkthrough: the shore route, the library detour, the burial-area puzzle and the skeleton boss, plus every demo achievement.
The Queen's Domain FAQ: release date, platforms, price, game length, co-op, demo saves, respec, endings, map, Steam Deck and the Souls comparison.
A practical Queen's Domain map: the confirmed regions of the Isle of Neasied, how they connect, one-way drops and navigating without a map screen.
Queen's Domain is out now, October 30, 2026, on PC, PS5, Xbox Series and Switch 2. Price, launch discount, length, demo and Steam Deck status.
A roundup of Queen's Domain reviews and previews: the 9/10 Wand Report verdict, RPS on its King's Field lineage, and the criticisms worth knowing.